AWS Client VPNはAWSがマネージドするClient向けのVPN接続サービスです。VPCに対して、Client VPNのEndpointをアタッチすると、Open VPN ClientとのTLS-VPN接続を確立するのですが、元々はClientがVPN接続をする形式はサポートされておらず、2018/12/18のre:inventで発表されました。現在では東京リージョン対応していないので、今回オレゴンリージョンで設定等試してみました。
■やりたいこと
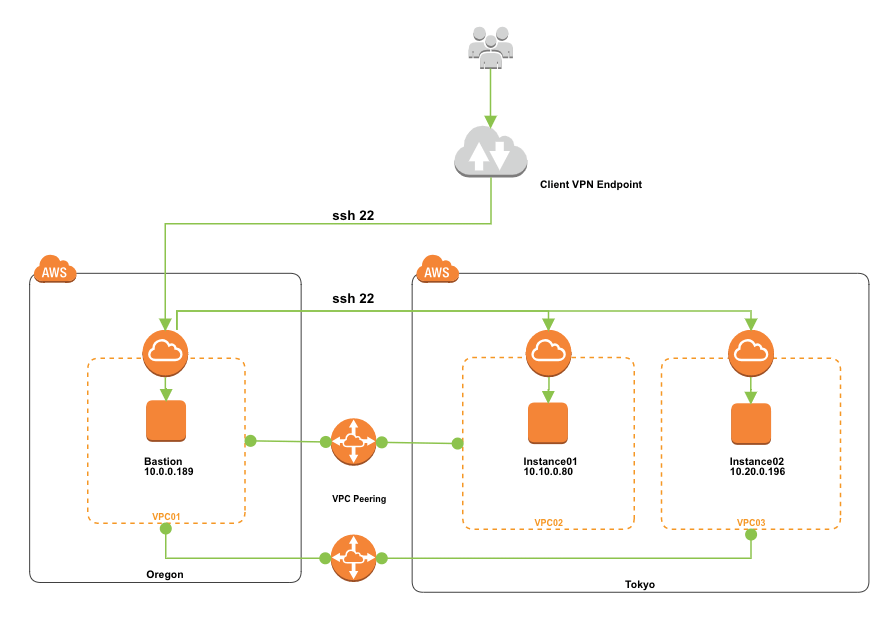
- オレゴンにVPC01とのAWS Client VPNの設定
- 東京リージョンにVPC02,VPC03を2つ設定
- VPC01(オレゴン)とVPC02,03(東京)をVPCピアリングで接続
- VPC01,VPC02,VPC03それぞれにEC2の構築
- AWS Client VPNのユーザー作成(証明書、鍵)
- 接続した際のログ(cloudwatch logs)が取得できることを確認
- VPN経由でEC2にSSHできるか確認
- レイテンシの確認
オレゴンリージョンのEC2から東京リージョン2つのEC2にSSHできればOK。リージョンまたぐのは凄いですね。
■オレゴンリージョンにVPCの設定
- vpc01
 ・IPv4 CIDR
・10.0.0.0/16
- subnet01,02

・IPv4 CIDR
・10.0.0.0/24
・10.0.1.0/24
■東京リージョンにVPCを2つ設定
- vpc02

・IPv4 CIDR
・10.10.0.0/16
- vpn03
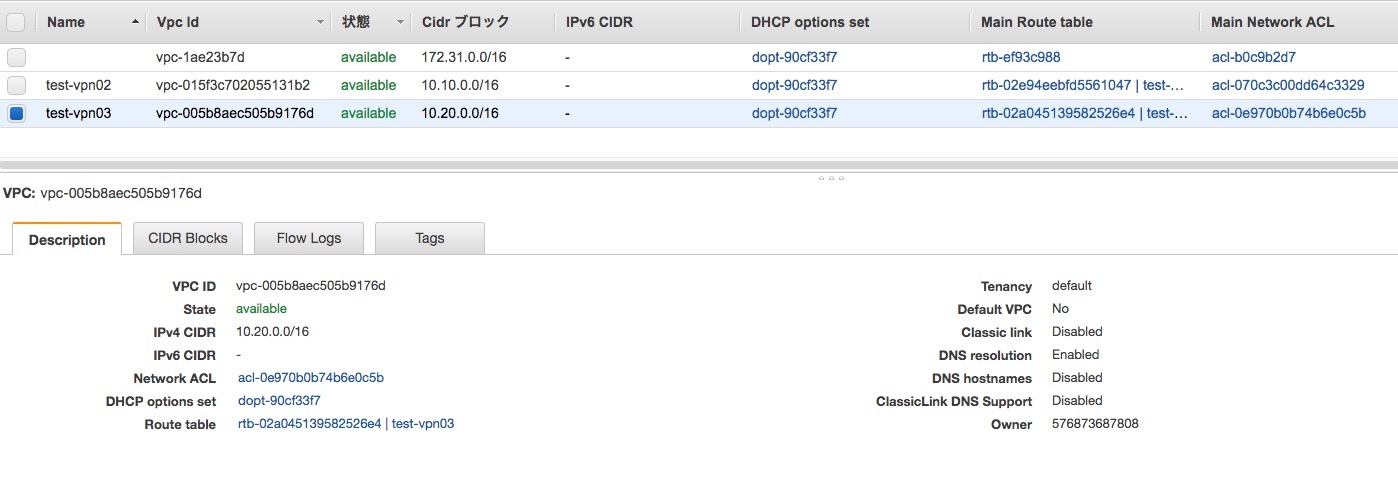
・IPv4 CIDR
・10.20.0.0/16
- subnet(test-vpn02)
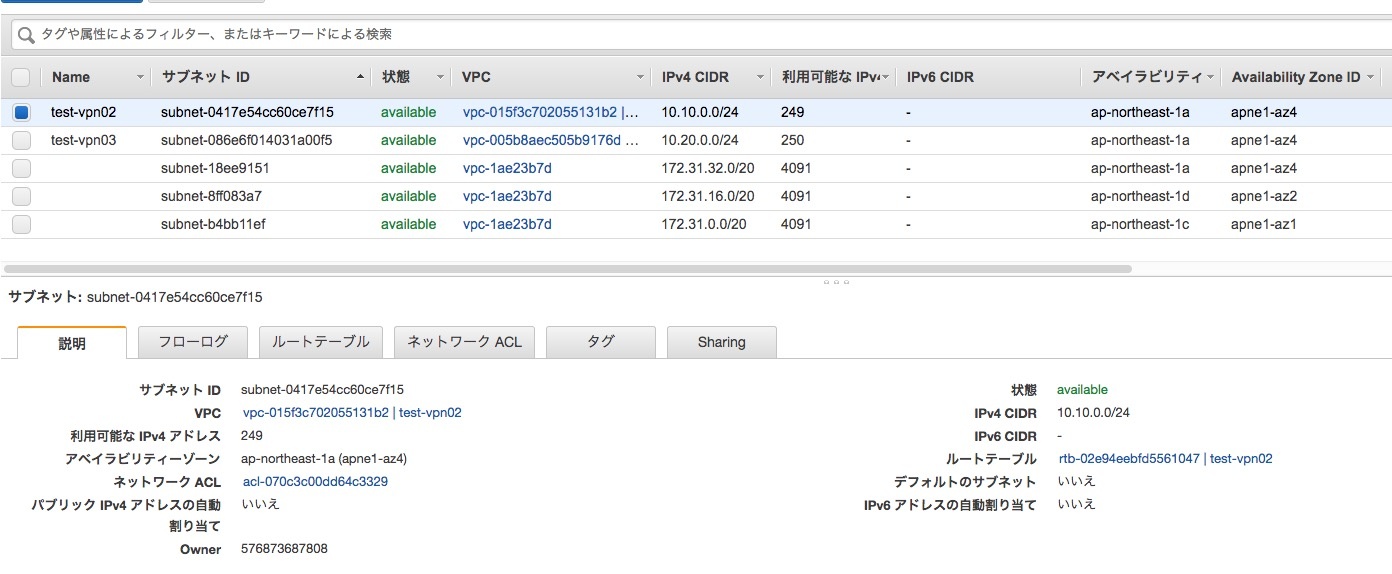
・IPv4 CIDR
・10.10.0.0/24
- subnet(test-vpn03)
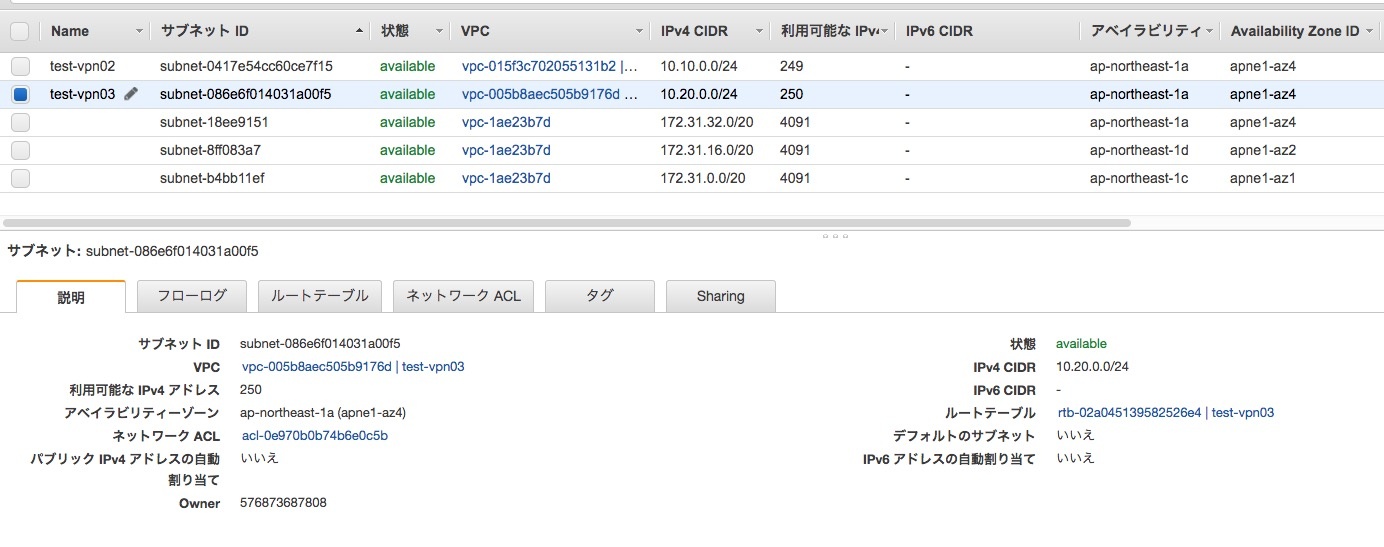
・IPv4 CIDR
・10.20.0.0/24
■オレゴンリージョンと東京リージョンをピアリング接続
- vpc01→vpc02
- vpc01→vpc03
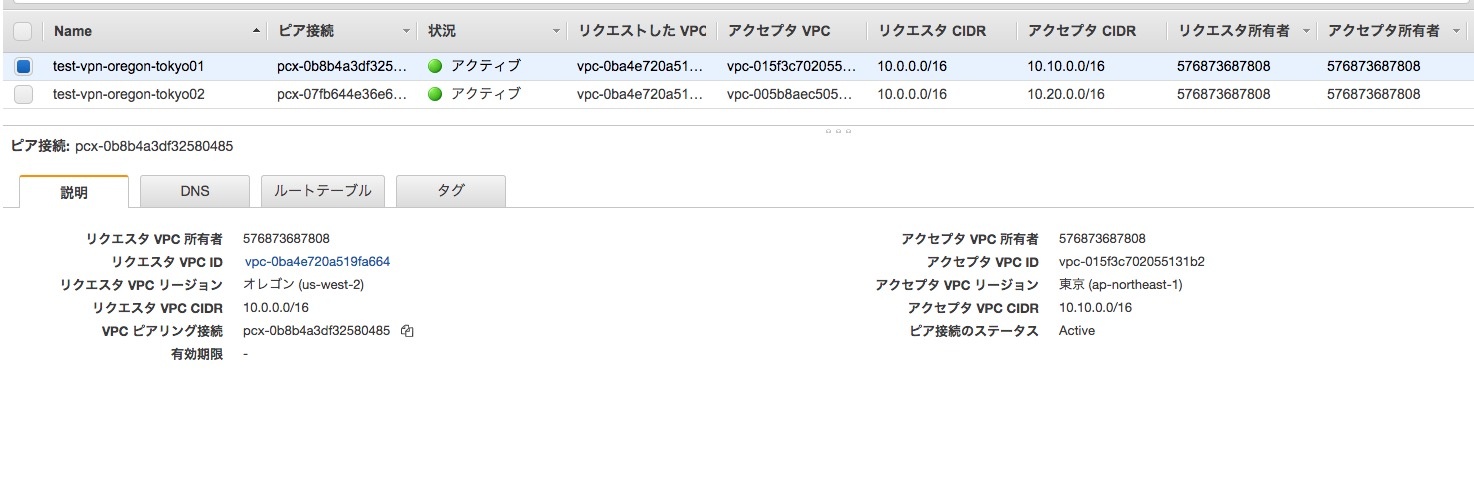
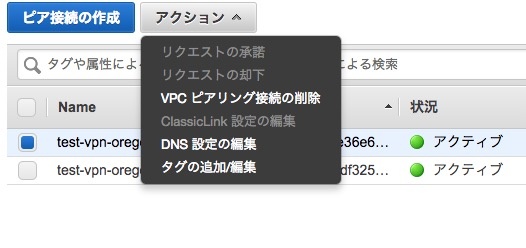
先程東京リージョンで作ったvpc02をオレゴンリージョンのvpc01にピア接続をします。同様にvpc03もオレゴンリージョンに紐付けましょう。東京リージョンのピアリング接続で先程2のピアリングのリクエストの承諾をします。あとは各リージョンにEC2を構築して、各セキュリティグループは0.0.0.0/0全開放してください。
- オレゴンリージョン
- プライベートIP: 10.0.0.189
- 東京リージョン
- プライベートIP: 10.10.0.80
- プライベートIP: 10.20.0.196
■easy-rsaで証明書/鍵の作成
- git clone
|
1 |
$ git clone https://github.com/OpenVPN/easy-rsa.git |
- 初期化
|
1 2 |
$ cd easy-rsa/easyrsa3 $ ./easyrsa init-pki |
- common Nameを追加
|
1 |
$ ./easyrsa build-ca nopass |
- サーバ側の証明書、秘密鍵の追加
|
1 |
$ ./easyrsa build-server-full server nopass |
- クライアント側の証明書、秘密鍵の追加
|
1 |
$ ./easyrsa build-client-full adachin nopass |
- ACM用ルート証明書、証明書、秘密鍵をコピー
|
1 2 3 4 |
$ mkdir ~/acm $ cp pki/ca.crt ~/acm $ cp pki/issued/server.crt ~/acm $ cp pki/private/server.key ~/acm |
- ACMにaws cliで上記を追加
|
1 2 3 4 |
$ aws acm import-certificate --certificate file://server.crt --private-key file://server.key --certificate-chain file://ca.crt --region us-west-2 { "CertificateArn": "arn:aws:acm:us-east-1:******:certificate/27ec60c0-8937-4224-9c05-d88243239fde" } |
■AWS Client VPNエンドポイント作成
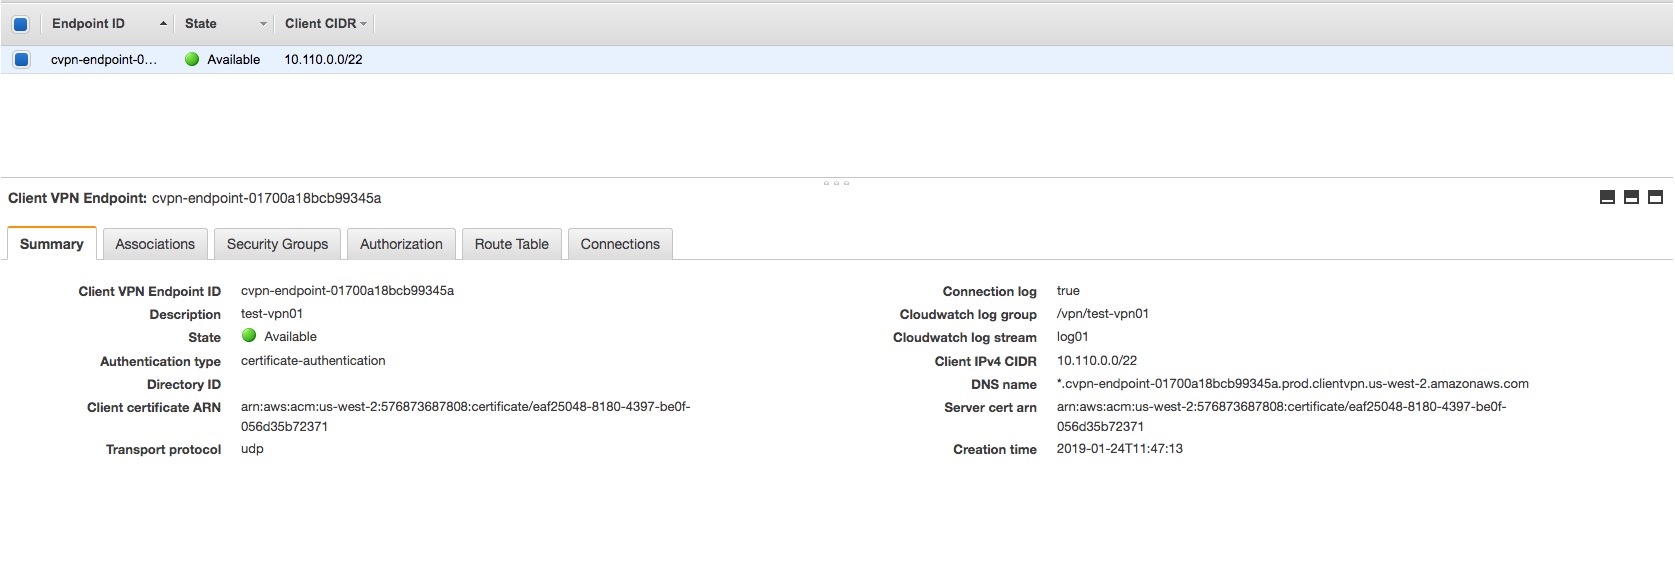
- Client VPN Endponts
・Client IPv4 CIDR
・10.110.0.0/22
ログはCloudWatch Logs
・Server certificate ARN
・Client certificate ARN
上記のACMを指定
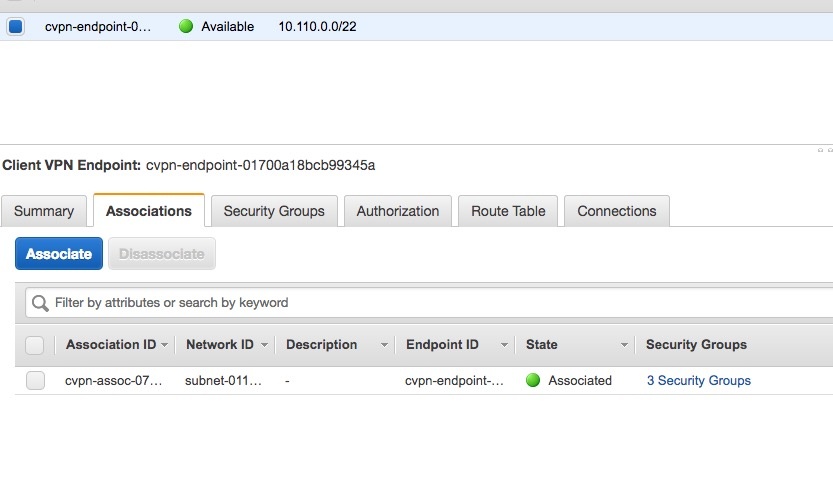
- Associations
VPCとSubnetをAssociateをクリック。
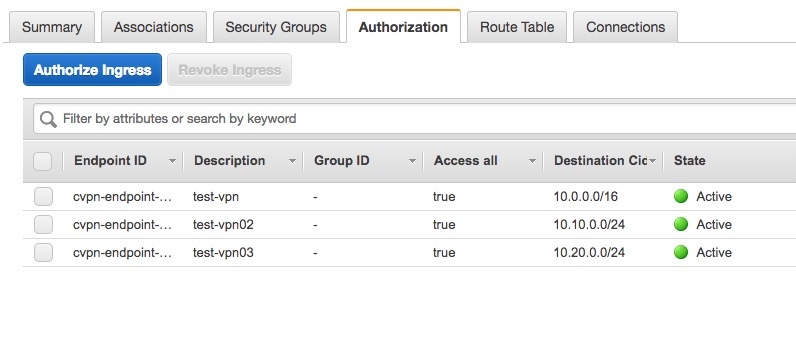
- Authorization
東京リージョン2つのCidrを追記します。もう一つは0.0.0.0/0を追加することによってVPNをつないだ時にアクセスが可能になります。
- Route Table
・10.0.0.0/16
・0.0.0.0/0
■Setting Tunnelblick
https://tunnelblick.net/downloads.html
- クライアント証明書と鍵をコピー
|
1 2 3 |
$ cd /easy-rsa/easyrsa $ cp pki/private/adachin.key ~/acm $ cp pki/issued/adachin.crt ~/acm |
- Client Configurationに下記を追加
|
1 2 |
cert adachin.crt key adachin.key |
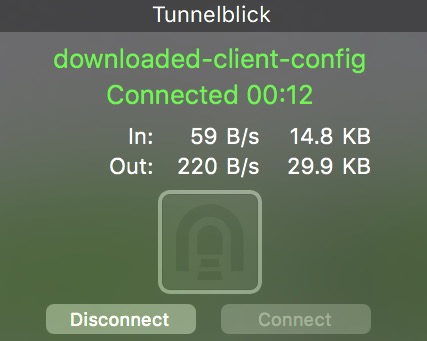
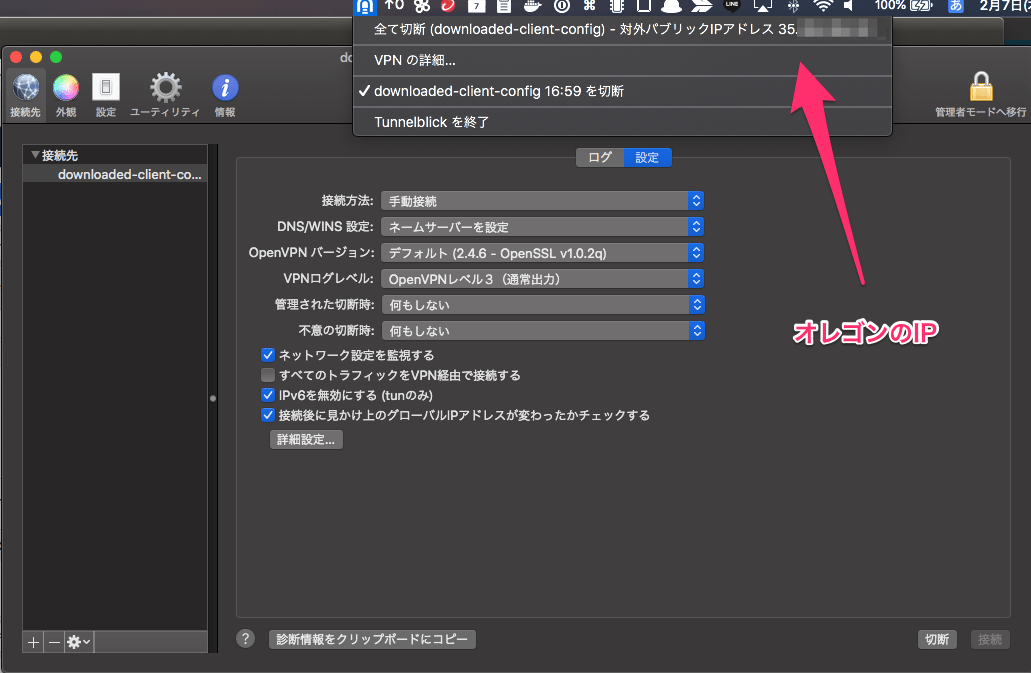
- configurationファイルをドラックしてconnect
|
1 2 3 4 5 6 7 8 |
$ ifconfig utun1 utun1: flags=8051<UP,POINTOPOINT,RUNNING,MULTICAST> mtu 1500 inet 10.110.1.98 --> 10.110.1.98 netmask 0xffffffe0 $ ping google.com PING google.com (172.217.14.238): 56 data bytes 64 bytes from 172.217.14.238: icmp_seq=0 ttl=42 time=134.582 ms 64 bytes from 172.217.14.238: icmp_seq=1 ttl=42 time=134.230 ms |
|
1 2 3 4 5 6 7 8 9 10 11 12 |
$ ping 10.0.0.189 PING 10.0.0.189 (10.0.0.189): 56 data bytes 64 bytes from 10.0.0.189: icmp_seq=0 ttl=254 time=127.708 ms 64 bytes from 10.0.0.189: icmp_seq=1 ttl=254 time=127.965 ms 64 bytes from 10.0.0.189: icmp_seq=2 ttl=254 time=128.099 ms 64 bytes from 10.0.0.189: icmp_seq=3 ttl=254 time=127.861 ms 64 bytes from 10.0.0.189: icmp_seq=4 ttl=254 time=127.784 ms 64 bytes from 10.0.0.189: icmp_seq=5 ttl=254 time=127.855 ms ^C --- 10.0.0.189 ping statistics --- 6 packets transmitted, 6 packets received, 0.0% packet loss round-trip min/avg/max/stddev = 127.708/127.879/128.099/0.126 ms |
■test ssh
|
1 2 3 4 5 6 7 8 9 10 11 12 13 14 15 16 17 18 19 20 21 22 23 24 25 |
$ ssh -i test.pem ec2-user@10.0.0.189 Last login: Thu Jan 31 15:26:17 2019 from 10.0.0.169 __| __|_ ) _| ( / Amazon Linux 2 AMI ___|\___|___| https://aws.amazon.com/amazon-linux-2/ [ec2-user@ip-10-0-0-189 ~]$ [ec2-user@ip-10-0-0-189 .ssh]$ ssh -i test.pem ec2-user@10.10.0.80 __| __|_ ) _| ( / Amazon Linux 2 AMI ___|\___|___| https://aws.amazon.com/amazon-linux-2/ [ec2-user@ip-10-10-0-80 ~]$ exit ログアウト Connection to 10.10.0.80 closed. [ec2-user@ip-10-0-0-189 .ssh]$ ssh -i test.pem ec2-user@10.20.0.196 __| __|_ ) _| ( / Amazon Linux 2 AMI ___|\___|___| https://aws.amazon.com/amazon-linux-2/ [ec2-user@ip-10-20-0-196 ~]$ exit |
ちゃんとip10系でsshできてますな!!レイテンシもオレゴンだけどもそこまで遅くはありません。アカウント発行手順は管理者側とクライアント側があるので、まとめると以下になります。
- 管理者作業
クライアント側の証明書、秘密鍵の追加
|
1 2 3 4 5 |
$ cd /easy-rsa/easyrsa $ ./easyrsa build-client-full ユーザ名 nopass $ cp pki/ca.crt ~/Desktop $ cp pki/issued/ユーザ名.crt ~/Desktop $ cp pki/private/ユーザ名.key ~/Desktop |
configurationファイル(downloaded-client-config.ovpn)をawsコンソールからダウンロードして接続したいユーザに渡す。
- クライアント側作業
configurationファイルに下記を追加する (configurationファイルと鍵、証明書が同じディレクトリ内に配置する)
|
1 2 |
cert ユーザ名.crt key ユーザ名.key |
configurationファイルをtunnelblickへドラッグアンドドロップしてconnectします。
sshで接続確認をする。
- アカウント削除
VPNのアカウント削除は直接できないので、各ユーザの証明書をrevokeして、Import Client Certificate CRLからpemを貼ればVPN接続ができなくなるのでOK。
|
1 2 3 4 5 6 7 8 9 10 11 12 13 14 15 16 17 18 19 20 21 22 23 24 25 26 27 28 29 30 31 |
[~/git/easy-rsa/easyrsa3] $ ./easyrsa revoke adachin Using SSL: openssl LibreSSL 2.6.5 Please confirm you wish to revoke the certificate with the following subject: subject= commonName = adachin Type the word 'yes' to continue, or any other input to abort. Continue with revocation: yes Using configuration from ~/git/easy-rsa/easyrsa3/pki/safessl-easyrsa.cnf Revoking Certificate 0D853F66DDA27473927CF7DA2EB67B90. Data Base Updated mv: rename ~/git/easy-rsa/easyrsa3/pki/private/adachin.key to ~/git/easy-rsa/easyrsa3/pki/revoked/private_by_serial/0D853F66DDA27473927CF7DA2EB67B90.key: No such file or directory IMPORTANT!!! Revocation was successful. You must run gen-crl and upload a CRL to your infrastructure in order to prevent the revoked cert from being accepted. $ easyrsa gen-crl Using SSL: openssl LibreSSL 2.6.5 Using configuration from ~/git/easy-rsa/easyrsa3/pki/safessl-easyrsa.cnf An updated CRL has been created. CRL file: ~/git/easy-rsa/easyrsa3/pki/crl.pem |
■まとめ
OpenVPNとか構築時に結構大変な思いをする上、AWSの場合はなんて楽なのか!なかなかセキュアな環境と運用が実現できそう。東京リージョンそろそろかな?ちなみに既存のサーバ証明書を使って、新規VPNを構築して、設定等変えることなくVPNができるか検証したところ可能でした。


0件のコメント