これが最強!
ってどういう意味って感じですがw
redmine系のブログをしたのは久しぶりすぎて懐かしいw
これ以来だw
「redmine インストール」ってググるとpassengerとかやり方たくさんあってようわからんじゃないですか。
色々とハマったので今回は一発でredmineの構築方法をブログします。
しかもH2O化もチョー簡単!
■environment
・AWS EC2(Amazon linux)
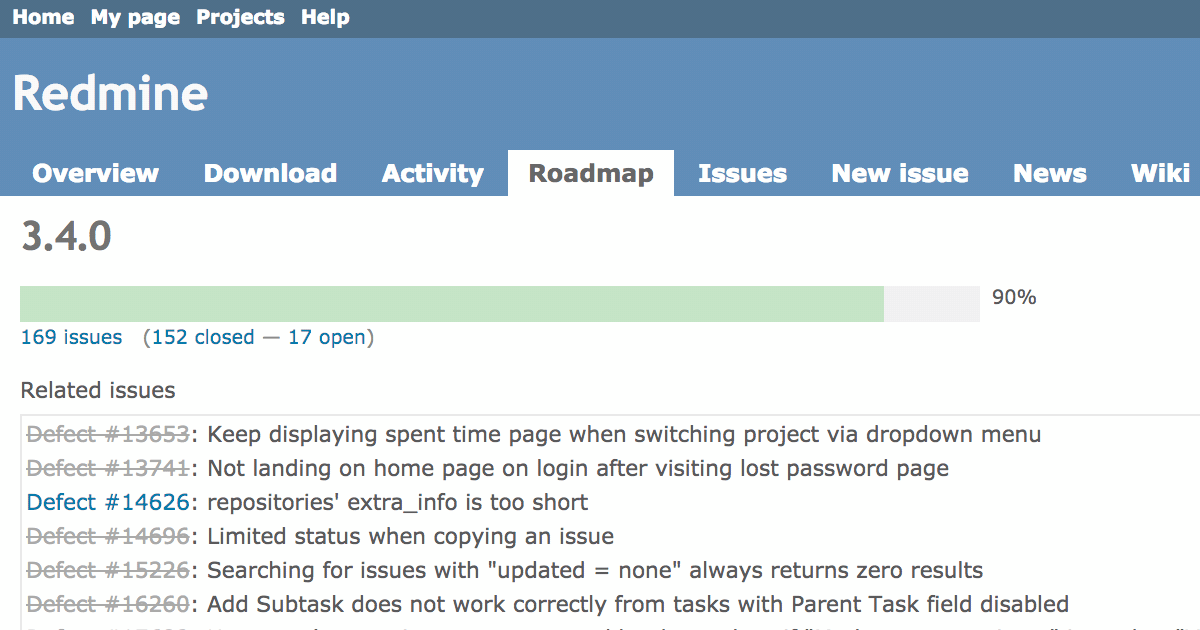
・redmine v3.4.2
・ruby v2.4.1
・rails v4.2.0
・bundler v1.15.4
・gem v2.6.11
・H2O v2.2.2
・mysql 5.5.57
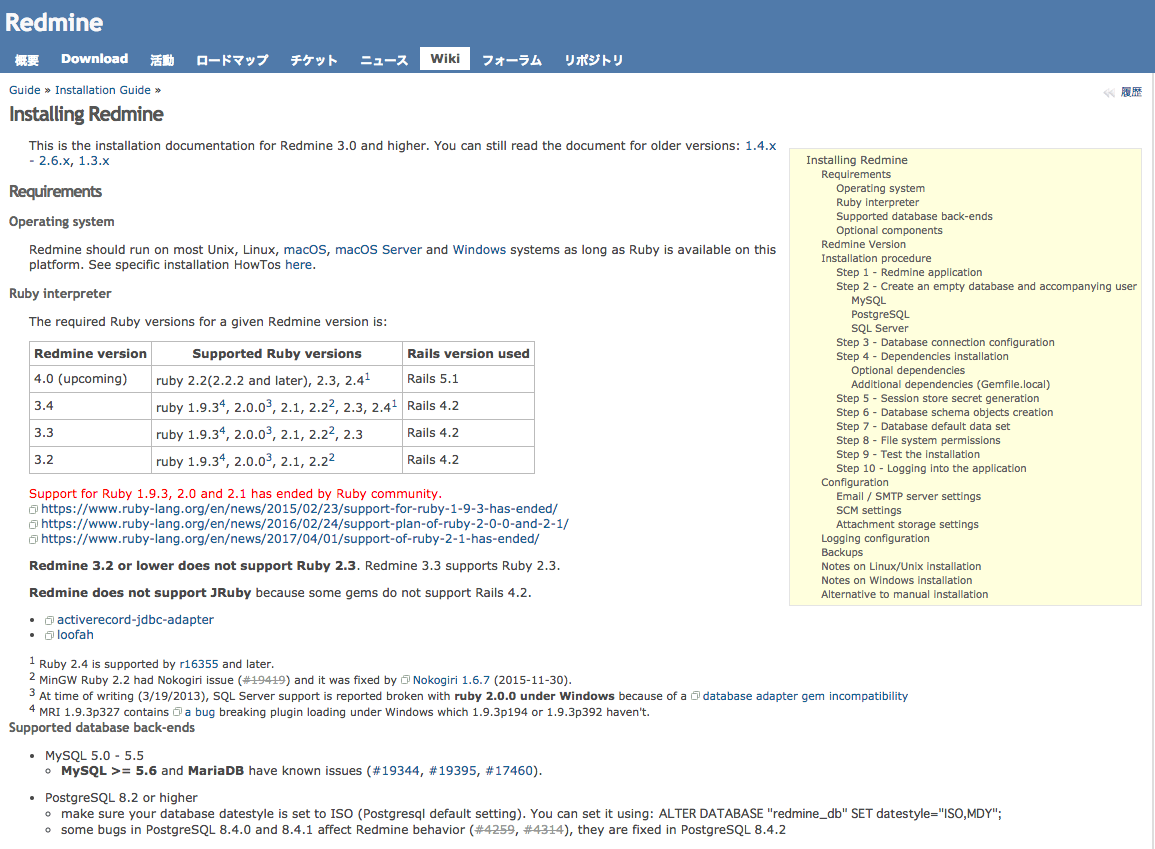
http://www.redmine.org/projects/redmine/wiki/redmineinstall
redmineのDBはPostgreSQL推奨してますが、
公式見ると全然Mysqlでも可能なので今回はMysql5.5(推奨)にしてます。
色々と相性があるそうです。
■ruby install
・yum update
|
1 |
$ sudo yum -y update |
・need to rails package
|
1 |
$ sudo yum install -y wget git curl gcc openssl openssl-devel libxml2 libxml2-devel libxslt libxslt-devel gcc-c++ curl-devel libffi-devel ruby-devel ImageMagick ImageMagick-devel apr-devel apr-util-devel readline readline-devel ruby-devel libyaml-devel zlib zlib-devel |
・rbenv install
|
1 |
$ sudo git clone git://github.com/sstephenson/rbenv.git /usr/local/rbenv |
・change Authority
|
1 2 3 |
$ sudo useradd redmine $ sudo su redmine $ sudo chown -R redmine /usr/local/rbenv |
・/etc/profile
|
1 2 3 4 |
$ sudo vim /etc/profile export RBENV_ROOT=/usr/local/rbenv export PATH="${RBENV_ROOT}/bin:${PATH}" eval "$(rbenv init -)" |
・ruby-build clone
|
1 2 3 |
$ git clone git://github.com/sstephenson/ruby-build.git /usr/local/rbenv/plugins/ruby-build $ source /etc/profile $ rbenv rehash |
・.gemrc
|
1 2 3 4 5 |
$cd $ vim .gemrc gem: --no-rdoc --no-ri install: --no-document update: --no-document |
・ruby install
|
1 2 3 4 5 |
$ rbenv install 2.4.1 $ rbenv global 2.4.1 $ rbenv rehash $ ruby -v ruby 2.4.1p111 (2017-03-22 revision 58053) [x86_64-linux] |
rbenvは/usr/localにインストールしてるので全ユーザがruby使えるようにしてます。
■rails install
・bundler rails install
|
1 2 3 4 5 6 |
$ gem install bundler $ gem install nokogiri -- --use-system-libraries $ gem install rails --version="4.2.0" $ rbenv rehash $ rails -v $ Rails 4.2.0 |
■H2O install
・add yumrepo
|
1 2 3 4 5 6 7 8 9 10 11 12 |
# vim /etc/yum.repos.d/bintray-tatsushid-h2o-rpm.repo #bintray-tatsushid-h2o-rpm - packages by tatsushid from Bintray [bintray-tatsushid-h2o-rpm] name=bintray-tatsushid-h2o-rpm #If your system is Amazon Linux baseurl=https://dl.bintray.com/tatsushid/h2o-rpm/centos/6/$basearch/ gpgcheck=0 repo_gpgcheck=0 enabled=1 # yum update -y # yum install h2o -y |
・H2O start
|
1 2 |
$ sudo service h2o start $ sudo chkconfig h2o on |
■mysql install
|
1 2 3 |
$ sudo yum install -y mysql-server mysql-devel $ sudo service mysqld start $ sudo chkconfig mysqld on |
・add user GRANT
|
1 2 |
$ mysql -u root -p > GRANT ALL PRIVILEGES ON redmine_production.* TO redmine@localhost IDENTIFIED BY 'adachinpo' WITH GRANT OPTION; |
■redmine download
|
1 2 3 4 5 |
$ cd /usr/share/h2o $ sudo wget http://www.redmine.org/releases/redmine-3.4.2.zip $ unzip redmine-3.4.2.zip $ ln -s redmine-3.4.2 redmine $ sudo chown -R redmine ./redmine |
・fix database.yml
|
1 2 3 4 5 6 7 8 9 10 |
$ cd ./redmine/config $ cp -p database.yml.example database.yml $ vim database.yml production: adapter: mysql2 database: redmine_production host: localhost username: redmine password: "adachinpo" encoding: utf8 |
・fix configuration.yml
|
1 2 3 4 5 6 7 |
$ cp -p configuration.yml.example configuration.yml $ vim configuration.yml delivery_method: :smtp smtp_settings: address: "localhost" port: 25 domain: "example.com" |
・gem redmine install
|
1 2 |
$ cd .. $ bundle install --without development test --path vendor/bundle |
・make secret token
|
1 |
$ bundle exec rake generate_secret_token |
・make redmine db
|
1 2 |
$ bundle exec rake db:create RAILS_ENV=production ここでエラー出たらmysql側でDB作ってみてください。 |
・make db migrate
|
1 |
$ bundle exec rake db:migrate RAILS_ENV=production |
・add unicorn
|
1 2 3 4 |
$ vim Gemfile gem "unicorn"→追加 gem "rails", "4.2.8" $ bundle install |
・add unicorn.rb
|
1 2 3 4 5 6 7 8 9 10 11 12 13 14 15 16 17 18 19 20 21 22 23 24 25 26 27 28 29 30 31 |
$ cd config $ vim unicorn.rb @app_path = '/usr/share/h2o/redmine' worker_processes 1 working_directory "#{@app_path}/" preload_app true timeout 30 listen "/tmp/unicorn.sock", :backlog => 64 pid "/tmp/unicorn.pid" stderr_path "#{@app_path}/log/unicorn.stderr.log" stdout_path "#{@app_path}/log/unicorn.stdout.log" before_fork do |server, worker| defined?(ActiveRecord::Base) and ActiveRecord::Base.connection.disconnect! old_pid = "#{server.config[:pid]}.oldbin" if old_pid != server.pid begin sig = (worker.nr + 1) >= server.worker_processes ? :QUIT : :TTOU Process.kill(sig, File.read(old_pid).to_i) rescue Errno::ENOENT, Errno::ESRCH end end sleep 1 end after_fork do |server, worker| defined?(ActiveRecord::Base) and ActiveRecord::Base.establish_connection end |
■fix H2O
|
1 2 3 4 5 |
# tree . ├── conf.d │ └── redmine.adachin.com.conf └── h2o.conf |
・h2o.conf
|
1 2 3 4 5 6 7 |
user: redmine pid-file: /var/run/h2o/h2o.pid hosts: <<: !file /etc/h2o/conf.d/redmine.adachin.com error-log: /var/log/h2o/all-virtual.error.log |
・redmine.adachin.com.conf
|
1 2 3 4 5 6 7 8 9 10 11 12 13 14 15 16 17 18 19 20 21 22 23 24 25 26 |
"redmine.adachin.com:80": listen: port: 80 paths: "/": redirect: https://redmine.adachin.com file.dir: /usr/share/h2o/redmine/public "redmine.adachin.com:443": listen: port: 443 ssl: certificate-file: /etc/letsencrypt/live/redmine.adachin.com/fullchain.pem key-file: /etc/letsencrypt/live/redmine.adachin.com/privkey.pem paths: "/": mruby.handler: | require "htpasswd.rb" acl { allow { addr == "xxx.xxx.xxx.xxx" } deny { user_agent.match(/curl/i) && ! addr.start_with?("192.168.") } use Htpasswd.new("/usr/share/h2o/redmine/public/.htpasswd", "realm-name") { path.start_with?("/") } } proxy.reverse.url: http://[unix:/tmp/unicorn.sock]/ proxy.preserve-host: On file.dir: /usr/share/h2o/redmine/public access-log: /var/log/h2o/redmine.adachin.com.access.log |
proxy入れるだけで動くとか凄すぎ!
ベーシックの設定もしてます。
https://h2o.examp1e.net/configure/proxy_directives.html
・h2o restart
|
1 2 |
$ sudo chown -R redmine:redmine /usr/share/h2o/redmine $ sudo /etc/init.d/h2o restart |
■add unicorn initscript
・vim /etc/init.d/unicorn
https://gist.github.com/RVIRUS0817/abb7f537aa212df3dd64d9d533b97f5f
・start unicorn
|
1 2 3 4 5 |
$ sudo chmod 755 /etc/init.d/unicorn $ sudo chkconfig --add unicorn $ source /etc/profile $ sudo /etc/init.d/unicorn start start Unicorn |
・Access redmine.com
https://redmine.adachin.com
■When u redmine replace
redmineのリプレイスは超簡単です。
基本的にはDBと添付ファイル(画像系)の2つだけです。
※プラグイン系はgit cloneで持ってきましょう
・DB restore
|
1 |
$ mysql -u redmine -padachinpo redmine_production < redmine-xxxxxxxxxxxxx.sql |
・migration
|
1 2 |
$ cd /usr/share/h2o/redmine $ bundle exec rake db:migrate RAILS_ENV="production" |
・cp files
|
1 2 3 4 5 |
$ mv files.2017xxx files $ cp -r files /usr/share/h2o/redmine $ cd /usr/share/h2o/redmine $ chown -R redmine:redmine files $ chmod 775 files |
■まとめ
設定が多すぎる!
そういえばunicornのrake起動スクリプト(lib/tasks)に作れば
initスクリプトファイル作らなくてもOKなのだがうまくいかなかった。。
あとDBバックアップ、スワップ1GBすれば完璧。
↓参考に(ベーシック認証)
ちなみにredmine.jpにansibleで自動インストールするやり方が乗ってたw
なのでこれをansible化してコミッターになろう!↓(作った)
https://github.com/RVIRUS0817/ansible_redmine3.4.2
※backlogsプラグインは以下を参考に。
http://interprism.hatenablog.com/entry/backlogs_on_redmine3


0件のコメント